How to build an AI travel itinerary you can actually use
A useful itinerary connects the places you want to see with the time, transport and energy you actually have. Work through these steps in one conversation, then keep refining the same plan.
SparkleTrip ·
1. Give the assistant the constraints that matter
Share your departure point, travel dates, number of people, transport preference and total budget. Include accessibility needs, children or older companions, and places you already booked. If you only know that you want a weekend away, say so: first compare destinations instead of inventing a fixed itinerary.
2. Check sources before committing to a route
Ask the assistant to search official attraction, operator and venue pages. Distinguish confirmed opening hours from older third-party descriptions and estimated prices. Keep links next to the relevant activity. A missing source should remain an unresolved question; it should not quietly become a confirmed booking.
3. Build days that leave room to enjoy the trip
Group nearby stops and include door-to-door transport, queues, meals and rest. Give each day one main priority plus an optional stop. For a road trip, review total driving time and parking separately. Ask for an indoor alternative when weather could change the day.
4. Separate the budget into useful parts
Break down transport, accommodation, tickets, meals and incidental costs, stating the currency and whether amounts are per person or for the group. Ask for a lower-cost alternative. Estimates help compare options; check current prices and cancellation terms with providers before paying.
5. Create a consistent series of itinerary images
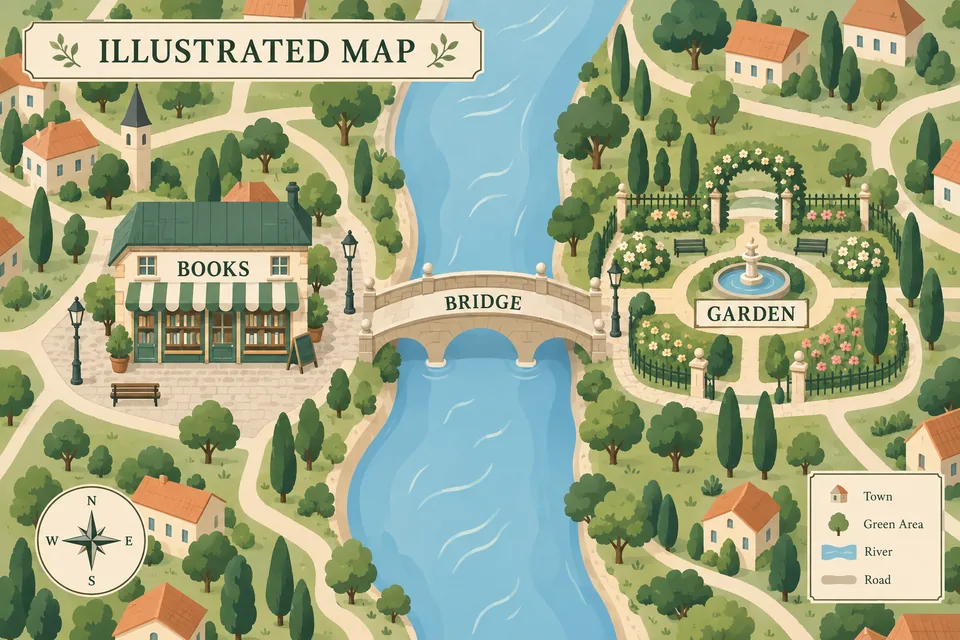
After the route is settled, request a cover and one card per day. Specify one aspect ratio, consistent labels and a shared visual style. Describe generated maps as route illustrations: they are not a substitute for accurate navigation. Check place names, dates and ordering before sharing.
6. Export the illustrated guide and make a final check
Ask for a PDF with each day’s image placed beside the matching itinerary, followed by the budget, sources and a packing checklist. Review the actual downloaded file for legible text, complete pages and correct images. Recheck weather, opening times, reservations and transport close to departure.
Try this travel brief
Help me plan a relaxed 3-day trip for two adults. Start by asking for my departure city, dates and budget if they are missing. Compare two destinations, research official sources and build a daily route with transport, rest time and estimated costs. Mark anything you cannot verify. Once we agree on the route, create one itinerary card per day and an illustrated PDF with each image beside its matching day.
Start planning in chat